Table of Contents
- Why it’s important to clean your cat’s ears
- Supplies you’ll need for cleaning your cat’s ears
- Step-by-step guide for cleaning your cat’s ears
- Tips for making the process easier for you and your cat
- How often you should clean your cat’s ears
- Signs of ear problems to watch out for
- When to take your cat to the vet for ear issues
- Preventative measures for keeping your cat’s ears clean
- The dos and don’ts of cleaning your cat’s ears
- Conclusion: Happy ears, happy cat!
Why it’s important to clean your cat’s ears
Regularly cleaning your cat’s ears is an important part of their overall health and well-being. While cats are typically good at grooming themselves, their ears can often go overlooked. Here are some reasons why cleaning your cat’s ears is crucial:
Preventing infections
Cats are prone to developing ear infections, which can be very painful and uncomfortable. By regularly cleaning your cat’s ears, you can help prevent the buildup of dirt, wax, and other debris that can contribute to infections.
Detecting ear problems early
Cleaning your cat’s ears also gives you an opportunity to inspect them for any signs of problems, such as redness, swelling, or discharge. Catching these issues early can prevent them from becoming more serious and potentially requiring more invasive treatments.
Improving hearing
Buildup of wax and debris in the ears can also affect your cat’s ability to hear properly. By regularly cleaning their ears, you can help improve their hearing and overall quality of life.
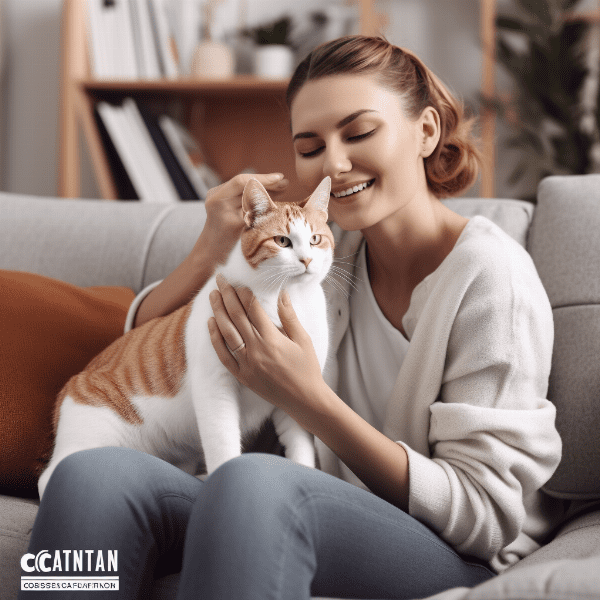
Strengthening your bond
Regular grooming, including ear cleaning, is a great way to bond with your cat. By making it a positive experience for them, you can strengthen your relationship and make them more comfortable with the process.
Overall, cleaning your cat’s ears is an important aspect of their health and well-being. By making it a part of their regular grooming routine, you can help prevent infections, detect problems early, improve their hearing, and strengthen your bond with them.

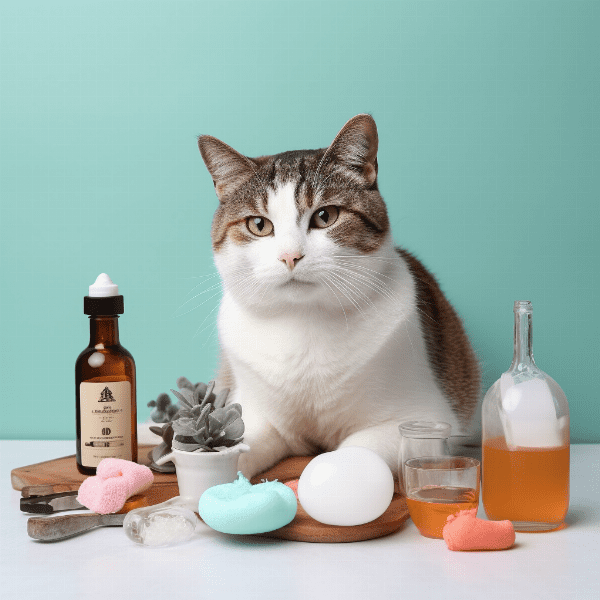
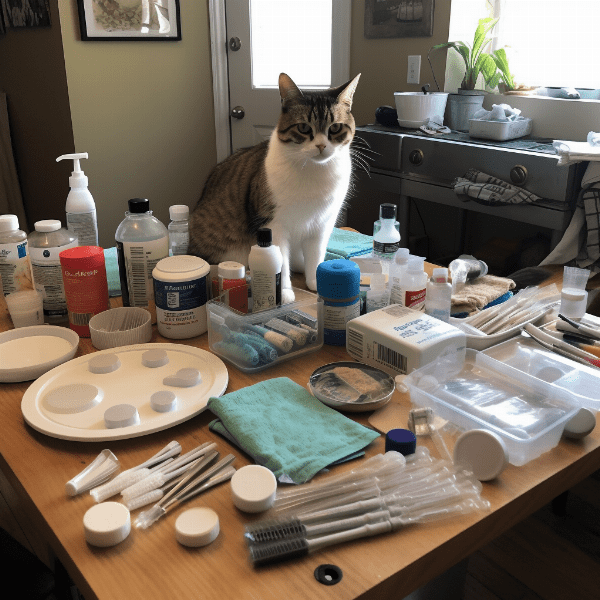
Supplies you’ll need for cleaning your cat’s ears
Cotton balls or pads
Cotton balls or pads are essential for cleaning your cat’s ears. They are soft and gentle, and won’t cause any irritation or damage to the delicate skin inside your cat’s ears.
Ear cleaning solution
There are many ear cleaning solutions available specifically for cats. These solutions are designed to break down wax and debris, and help prevent infections. Be sure to choose a solution that is safe for cats and doesn’t contain any harsh chemicals or irritants.
Towel or cloth
You’ll need a towel or cloth to help keep your cat still and catch any excess solution or debris that comes out of their ears.
Optional: gloves
If you prefer to wear gloves during the ear cleaning process, make sure they are clean and latex-free to avoid any allergic reactions.
By having all the necessary supplies on hand, you can make the ear cleaning process smoother and more efficient. It’s important to choose high-quality, cat-safe products to ensure the best results and avoid any adverse reactions.
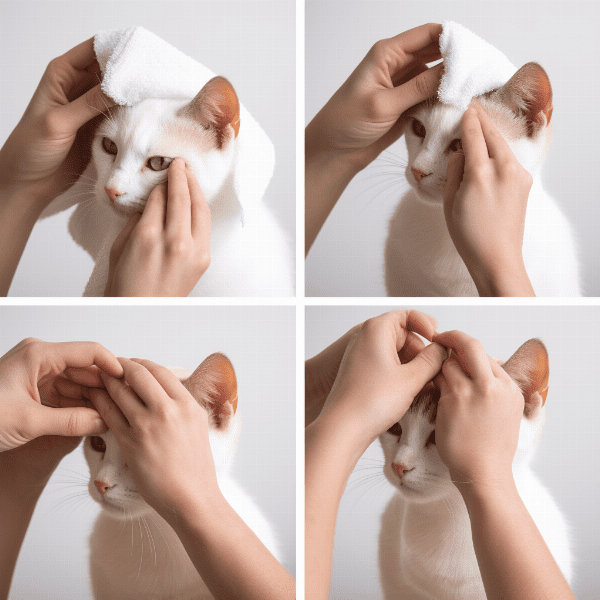
Step-by-step guide for cleaning your cat’s ears
Cleaning your cat’s ears can be a simple and easy process if you follow these steps:
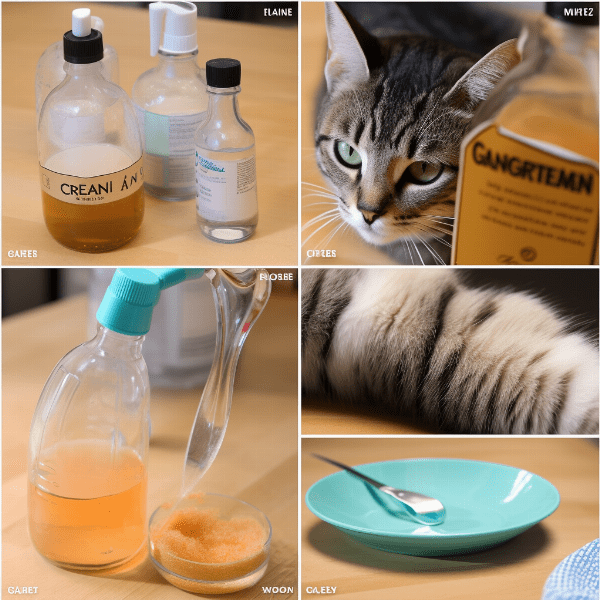
Step 1: Gather supplies
Before you start cleaning your cat’s ears, gather all the necessary supplies in a quiet and comfortable area where your cat feels safe.
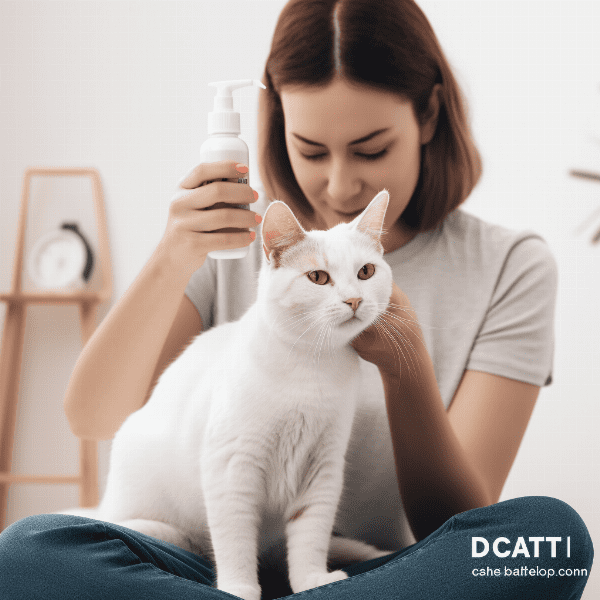
Step 2: Introduce the ear cleaning solution
Hold the ear cleaning solution in your hand and let your cat sniff it. This can help them get used to the scent and feel more comfortable with the process.
Step 3: Hold your cat still
Gently hold your cat’s head and use a towel or cloth to secure their body. This will help prevent them from moving around too much and keep them calm during the process.
Step 4: Apply the ear cleaning solution
Squeeze a few drops of the ear cleaning solution into your cat’s ear, making sure to avoid the ear canal. Gently massage the base of the ear for 30 seconds to help distribute the solution.
Step 5: Wipe away the debris
Use a cotton ball or pad to gently wipe away any debris that comes out of your cat’s ear. Be sure to avoid inserting the cotton ball or pad into the ear canal, as this can cause damage or injury.
Step 6: Repeat on the other ear
Repeat the process on the other ear, using a fresh cotton ball or pad and a new dose of ear cleaning solution.
Step 7: Reward your cat
After you’ve finished cleaning your cat’s ears, reward them with treats and praise to make the experience positive and rewarding for them.
Tips for making the process easier for you and your cat
Cleaning your cat’s ears can be a challenge, but there are some tips and tricks you can use to make the process easier for both you and your cat.
Tip 1: Make it a positive experience
Start by introducing your cat to the ear cleaning process gradually and make it a positive experience for them. Reward them with treats and praise, and be gentle and patient throughout the process.
Tip 2: Be prepared
Before you start cleaning your cat’s ears, make sure you have all the necessary supplies within reach. This includes ear cleaning solution, cotton balls or pads, a towel or cloth, and treats.
Tip 3: Use warm ear cleaning solution
Using warm ear cleaning solution can help make the process more comfortable for your cat. You can warm the solution by placing the bottle in warm water for a few minutes before use.
Tip 5: Have a helper
If your cat is particularly difficult to handle during the ear cleaning process, consider enlisting the help of a friend or family member to hold them still and provide additional support.
Tip 6: Use a calming aid
If your cat is extremely anxious or nervous during the ear cleaning process, you may want to consider using a calming aid such as Feliway to help them relax.
By following these tips, you can make the ear cleaning process easier and more comfortable for both you and your cat. Remember to always be gentle and patient, and never force your cat to do anything they are uncomfortable with.
How often you should clean your cat’s ears
The frequency with which you should clean your cat’s ears depends on several factors, including their breed, age, and overall health. Here are some general guidelines to follow:
Healthy cats
For healthy cats, it is generally recommended to clean their ears once a month. This can help prevent the buildup of wax and debris, and keep their ears healthy and clean.
Cats with ear problems
If your cat has a history of ear problems or is prone to developing infections, your veterinarian may recommend cleaning their ears more frequently. This may involve cleaning their ears every other week or even more frequently, depending on their condition.
Long-haired cats
Long-haired cats may require more frequent ear cleaning, as their ear hair can trap dirt and debris more easily. It is generally recommended to clean their ears every two weeks to prevent any issues.
Kittens
Kittens may not require regular ear cleaning until they are a few months old, as their ears are typically healthy and clean. It is best to consult with your veterinarian for specific recommendations based on your kitten’s age and health.
Senior cats
Senior cats may require more frequent ear cleaning, as they are more susceptible to infections and may have less effective grooming habits. It is important to monitor their ears and consult with your veterinarian for specific recommendations.
Overall, it is important to monitor your cat’s ears regularly and clean them as needed. If you notice any signs of ear problems or discomfort, such as redness, swelling, or discharge, it is important to contact your veterinarian for advice.

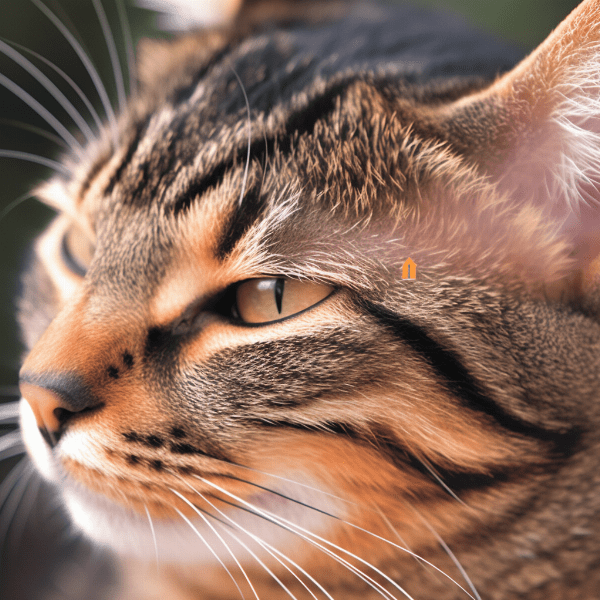
Signs of ear problems to watch out for
It is important to monitor your cat’s ears regularly for any signs of problems. Here are some common signs of ear problems to watch out for:
Redness and swelling
If your cat’s ears appear red and swollen, it may be a sign of an infection or inflammation. This can be very painful for your cat and should be treated by a veterinarian as soon as possible.
Discharge
Discharge from the ears, such as pus or blood, can be a sign of infection or injury. This can indicate a more serious problem and should be evaluated by a veterinarian.
Scratching or shaking of the head
If your cat is constantly scratching or shaking their head, it may be a sign of ear discomfort or irritation. This can be caused by a variety of factors, including infections, allergies, or foreign objects in the ear canal.
Changes in behavior
If your cat is suddenly acting differently, such as becoming more irritable or withdrawn, it may be a sign of ear discomfort or pain. This can be a result of an infection or injury in the ears.
When to take your cat to the vet for ear issues
While regular ear cleaning can help prevent many ear problems in cats, sometimes medical intervention is necessary. Here are some signs that indicate it’s time to take your cat to the vet for ear issues:
Persistent symptoms
If your cat’s ear problems persist even after regular cleaning or other treatments, it’s time to consult with a veterinarian. This may indicate a more serious underlying issue that requires medical attention.
Foul odor
A strong, foul odor coming from your cat’s ears is a sign of an infection or other problem that requires medical attention.
Head tilt
If your cat is tilting their head to one side, it may be a sign of an ear infection or other issue that requires treatment.
Loss of balance
If your cat is experiencing loss of balance or coordination, it may be a sign of an inner ear problem that requires veterinary attention.
Visible discharge
If you notice any visible discharge, such as pus or blood, coming from your cat’s ears, it’s important to seek veterinary care right away. This can indicate a serious infection or injury that requires immediate treatment.
If you notice any of these signs or symptoms in your cat, it’s important to contact your veterinarian for advice. They can evaluate your cat’s ears and determine the best course of treatment to resolve the issue and prevent further problems.
Preventative measures for keeping your cat’s ears clean
Regular ear cleaning is an important part of maintaining your cat’s ear health, but there are also preventative measures you can take to keep their ears clean and healthy in between cleanings. Here are some tips:
Grooming
Regular grooming is essential for keeping your cat’s ears clean and healthy. This includes brushing their coat regularly to remove loose hair and dirt, and trimming their hair around the ears to prevent buildup of debris.
Diet
A healthy diet is essential for maintaining your cat’s overall health, including their ear health. Make sure your cat is eating a balanced, high-quality diet that meets all their nutritional needs.
Environmental cleanliness
Keeping your cat’s environment clean and free of dust, dirt, and other debris can help prevent buildup in their ears. Regularly vacuuming and dusting your home can help reduce the amount of dirt and debris that accumulates in your cat’s ears.
Regular check-ups
Regular check-ups with your veterinarian can help catch any ear problems early and prevent them from becoming more serious. Make sure your cat sees a veterinarian at least once a year for a routine check-up.
Avoid water exposure
Excessive exposure to water can increase the risk of ear infections in cats. If your cat enjoys swimming or bathing, make sure to dry their ears thoroughly afterwards to prevent buildup of moisture.
By following these preventative measures, you can help keep your cat’s ears clean and healthy in between cleanings. Remember to always monitor your cat’s ears for any signs of problems and contact your veterinarian if you notice anything out of the ordinary.
The dos and don’ts of cleaning your cat’s ears
Cleaning your cat’s ears can be a simple and effective way to maintain their ear health, but it’s important to do it correctly. Here are some dos and don’ts to keep in mind:
Do: Use cat-safe ear cleaning solutions
Make sure to use ear cleaning solutions specifically designed for cats. Human ear cleaning solutions can be too harsh and cause irritation or injury to your cat’s ears.
Don’t: Use cotton swabs or Q-tips
Avoid using cotton swabs or Q-tips to clean your cat’s ears, as they can push debris further into the ear canal and cause injury or damage.
Do: Be gentle
When cleaning your cat’s ears, be gentle and use soft, gentle strokes to avoid causing any discomfort or pain. Avoid inserting anything into the ear canal.
Don’t: Use too much solution
Using too much ear cleaning solution can cause irritation or discomfort for your cat. Use only the recommended amount of solution for your cat’s ear size and follow the instructions on the product label.
Do: Reward your cat
Reward your cat with treats and praise during and after the ear cleaning process to make it a positive experience for them. This can also help them associate ear cleaning with a positive experience and be more willing to cooperate in the future.
Don’t: Force your cat
Never force your cat to do anything they are uncomfortable with. If your cat resists or becomes agitated during the ear cleaning process, take a break and try again later.
By following these dos and don’ts, you can ensure that your cat’s ears are cleaned safely and effectively. Remember to always use high-quality, cat-safe products and be gentle and patient throughout the process.
Conclusion: Happy ears, happy cat!
Cleaning your cat’s ears is an important part of maintaining their overall health and well-being. By following the tips and guidelines outlined in this guide, you can ensure that your cat’s ears are clean, healthy, and free from problems.
Regular ear cleaning can help prevent the buildup of wax and debris, which can lead to infections and other problems. It’s important to monitor your cat’s ears regularly and take action if you notice any signs of problems or discomfort.
In addition to regular cleaning, there are also preventative measures you can take to keep your cat’s ears healthy and clean. This includes regular grooming, a healthy diet, and regular check-ups with your veterinarian.
Remember to always be gentle and patient when cleaning your cat’s ears, and to use high-quality, cat-safe products. By following these tips and guidelines, you can ensure that your cat’s ears are happy and healthy, and that they enjoy a high quality of life.