Table of Contents
- Understanding the Importance of Cleaning Your Cat’s Ears
- Gathering the Ingredients and Supplies for Your Homemade Ear Cleaner
- Preparing the Homemade Solution: Step-by-Step Instructions
- Applying the Ear Cleaner to Your Cat: Tips and Techniques
- Cleaning Your Cat’s Ears: Common Mistakes to Avoid
- When to Seek Veterinary Care for Your Cat’s Ear Health
- Preventing Ear Problems in Cats: Best Practices for Owners
- Success Stories from Cat Owners Who Have Tried the Homemade Ear Cleaner
- Conclusion: Keeping Your Cat’s Ears Clean and Healthy with Homemade Solutions
Understanding the Importance of Cleaning Your Cat’s Ears
Cats are known for their fastidious grooming habits, but sometimes they need a little extra help to keep their ears clean and healthy. As a responsible cat owner, it’s essential to understand the importance of cleaning your cat’s ears and to do so regularly. Here are a few key reasons why:
Preventing Infections
A cat’s ears are warm and moist, making them the perfect breeding ground for bacteria and fungi. If left unchecked, these microorganisms can lead to painful infections that can be difficult to treat. Regular cleaning can help prevent the buildup of excess wax and debris that can contribute to the development of ear infections.
Identifying Issues Early
By making ear cleaning a regular part of your cat’s grooming routine, you’ll have an opportunity to regularly inspect your cat’s ears for signs of trouble. Catching problems early can be critical for effective treatment, especially in cases of ear mites, which can spread quickly and cause severe discomfort for your cat.
Maintaining Hearing Health
Your cat’s ears play a vital role in their ability to navigate the world around them. If their ears are dirty or infected, it can impair their hearing and lead to a range of other health issues. Regular cleaning can help keep your cat’s ears in top condition, ensuring that they can hear and respond to their environment as they should.
Strengthening Your Bond
Grooming is an essential part of the bond between cats and their owners. By regularly cleaning your cat’s ears, you’ll be providing valuable attention and care that can help deepen your relationship. It can also help your cat feel more comfortable with handling and make it easier to spot other areas that may need attention, such as teeth or claws.
In summary, cleaning your cat’s ears is an essential aspect of responsible cat ownership. It helps prevent infections, identifies issues early, maintains hearing health, and strengthens your bond with your feline friend. With a little knowledge and practice, ear cleaning can be a simple and enjoyable part of your cat’s overall health and wellness routine.

Gathering the Ingredients and Supplies for Your Homemade Ear Cleaner
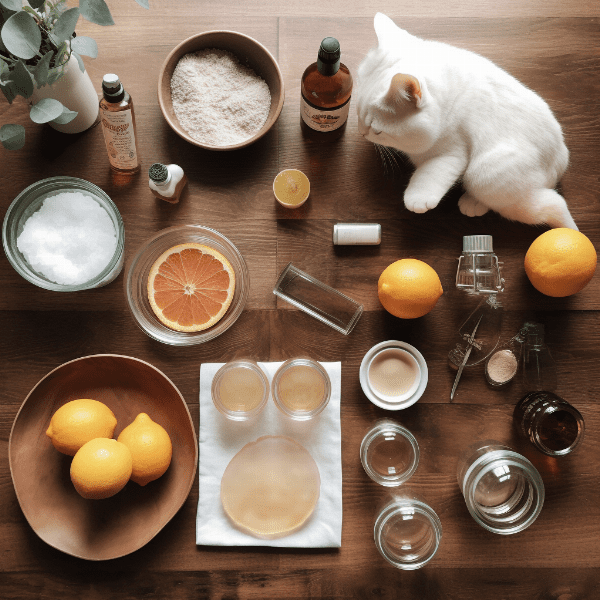
Making your own cat ear cleaner is a simple and cost-effective way to keep your cat’s ears healthy and clean. Before you begin, it’s essential to gather all the necessary ingredients and supplies. Here are a few things you’ll need:
- White vinegar: This common household ingredient helps to dissolve wax and debris while also creating an acidic environment that is hostile to bacteria and fungi.
- Rubbing alcohol: Alcohol helps to dry out the ear canal and can also kill bacteria and other microorganisms.
- Distilled water: Using distilled water ensures that your ear cleaner is free from contaminants that can be present in tap water.
- Optional: Aloe vera gel or coconut oil can be added to the ear cleaner solution to soothe irritation and provide additional moisture to the ear canal.
- A small mixing bowl: A bowl that’s small enough to hold in one hand is ideal for mixing and applying the solution.
- Cotton balls or pads: These are essential for applying the solution to your cat’s ears and wiping away excess fluid and debris.
- Ear cleaning solution applicator: An applicator, such as a syringe or dropper, can help you deliver the solution precisely and safely into your cat’s ear canal.
- Optional: Gloves or hand sanitizer can help keep you and your cat safe and clean during the ear cleaning process.
By gathering all the necessary ingredients and supplies before you begin, you’ll be able to create a safe and effective ear cleaner that will help keep your cat’s ears healthy and clean.
Preparing the Homemade Solution: Step-by-Step Instructions
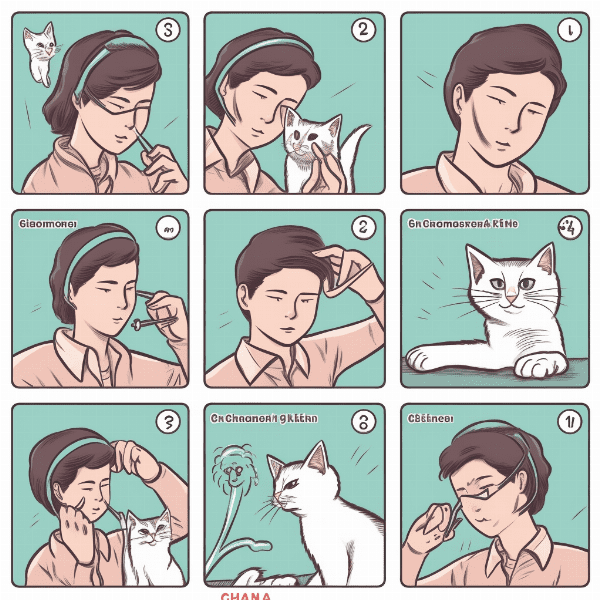
Once you’ve gathered all the necessary ingredients and supplies, it’s time to prepare your homemade ear cleaner solution. Follow these step-by-step instructions to create a safe and effective solution for your cat’s ears:
Step 1: Mix the Ingredients
In a small mixing bowl, combine one part white vinegar with one part rubbing alcohol. If you’re using aloe vera gel or coconut oil, add a small amount (approximately 1 teaspoon) to the mixture and stir well.
Step 2: Warm the Solution
To make the solution more comfortable for your cat, warm it slightly by placing the mixing bowl in a larger bowl of warm water for a few minutes. Be sure to test the temperature of the solution on your wrist before using it on your cat to avoid burning or discomfort.
Step 3: Fill the Applicator
Using an ear cleaning solution applicator, such as a syringe or dropper, carefully fill the applicator with the ear cleaner solution. Be sure not to insert the applicator into your cat’s ear canal as this can cause injury or discomfort.
Step 4: Apply the Solution
Gently lift your cat’s ear flap and apply a small amount of the ear cleaner solution to the inside of the ear. Massage the base of the ear for a few seconds to help the solution work its way into the ear canal.
Step 5: Allow Your Cat to Shake
After applying the solution, allow your cat to shake its head to help dislodge any excess wax or debris. Use a cotton ball or pad to wipe away any excess fluid and debris from the ear.
Step 6: Repeat as Needed
Repeat the process on the other ear, using a fresh applicator and cotton ball or pad. You can use this solution once a week to keep your cat’s ears clean and healthy.
By following these simple steps, you can create a safe and effective ear cleaner solution for your cat and ensure that their ears stay clean and healthy. Remember to always be gentle and patient with your cat during the cleaning process and seek veterinary care if you notice any signs of infection or discomfort.
Applying the Ear Cleaner to Your Cat: Tips and Techniques
Applying ear cleaner to your cat can be a challenging process, especially if your cat is not used to having their ears cleaned. Here are a few tips and techniques to make the process as easy and stress-free as possible:
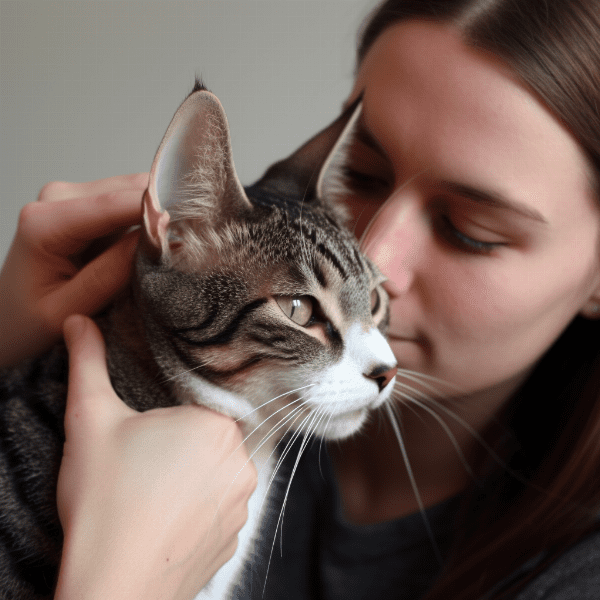
Choose the Right Time
Choose a time when your cat is relaxed and calm, such as after a nap or a meal. Avoid attempting to clean your cat’s ears when they are agitated or anxious, as this can lead to injury or discomfort.
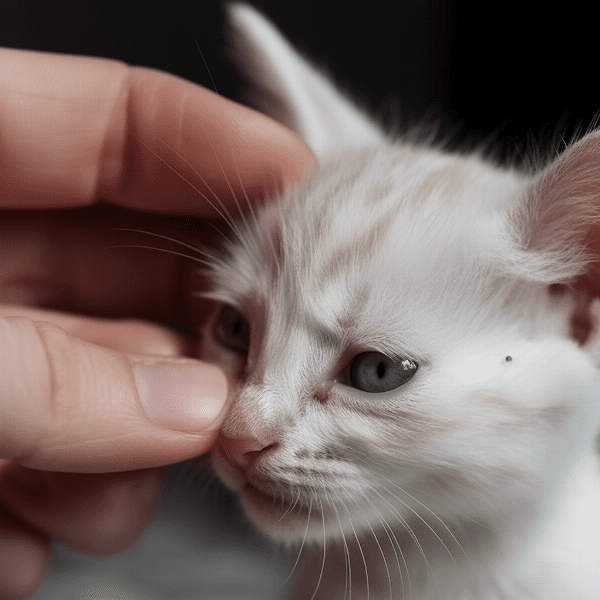
Be Gentle and Patient
Gentleness and patience are key when it comes to cleaning your cat’s ears. Approach your cat calmly and speak to them in a soft, reassuring voice. Use slow, gentle movements to apply the ear cleaner and avoid poking or prodding your cat’s ear canal.
Use Treats and Positive Reinforcement
Reward your cat with treats and positive reinforcement during and after the cleaning process. This can help them associate ear cleaning with positive experiences and make the process less stressful for both you and your cat.
Enlist Help if Needed
If your cat is particularly difficult to handle, enlist the help of another person to hold your cat still while you apply the ear cleaner. Alternatively, you can wrap your cat in a towel or blanket to keep them still and prevent them from scratching or biting.
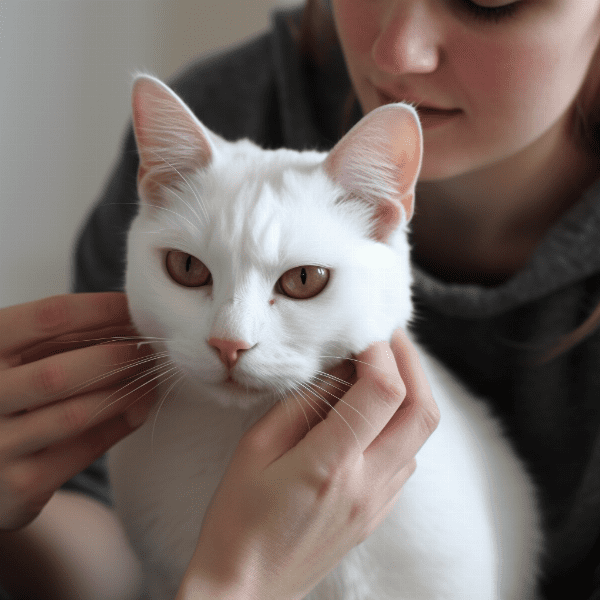
Watch for Signs of Discomfort
Be alert for signs of discomfort or pain during the ear cleaning process. If your cat shows signs of distress, such as hissing, growling, or scratching, stop the cleaning process and try again at another time.
By following these tips and techniques, you can make the ear cleaning process a positive and stress-free experience for both you and your cat. Remember to always be gentle and patient, use treats and positive reinforcement, and seek veterinary care if you notice any signs of discomfort or infection.
Cleaning Your Cat’s Ears: Common Mistakes to Avoid
Cleaning your cat’s ears can be a tricky process, and there are several common mistakes that cat owners should avoid. Here are a few things to keep in mind:
Using Q-Tips or Cotton Swabs
Q-tips and cotton swabs can be harmful to your cat’s ears and should never be used to clean the ear canal. These items can push debris deeper into the ear canal, leading to infection or injury. Stick to using cotton balls or pads to clean the outer ear.
Over-Cleaning or Under-Cleaning
Over-cleaning or under-cleaning your cat’s ears can both be harmful. Over-cleaning can strip the ear canal of beneficial oils and cause dryness and irritation, while under-cleaning can lead to the buildup of excess wax and debris. Aim to clean your cat’s ears once a week, or as recommended by your veterinarian.
Using Incorrect Products
Using the wrong ear cleaning products can be harmful to your cat. Avoid using any products that contain alcohol, hydrogen peroxide, or essential oils, as these can be irritating to the ear canal. Stick to using a gentle homemade ear cleaner solution or a product recommended by your veterinarian.
Not Checking for Infections
Ear infections are common in cats and can be painful and difficult to treat if left untreated. As you clean your cat’s ears, be sure to check for signs of infection, such as redness, swelling, discharge, or a foul odor. If you suspect your cat has an ear infection, seek veterinary care right away.
Not Seeking Professional Help
If you are having trouble cleaning your cat’s ears, or if you suspect an underlying issue, it’s essential to seek professional help. Your veterinarian can provide guidance on the best ear cleaning practices and diagnose any underlying health issues that may be affecting your cat’s ears.
By avoiding these common mistakes, you can ensure that your cat’s ears stay healthy and clean. Remember to always be gentle and patient during the cleaning process and seek professional help if needed.
When to Seek Veterinary Care for Your Cat’s Ear Health
While regular ear cleaning is essential for maintaining your cat’s ear health, there are times when you may need to seek veterinary care. Here are a few signs that indicate it’s time to take your cat to the vet for an ear checkup:
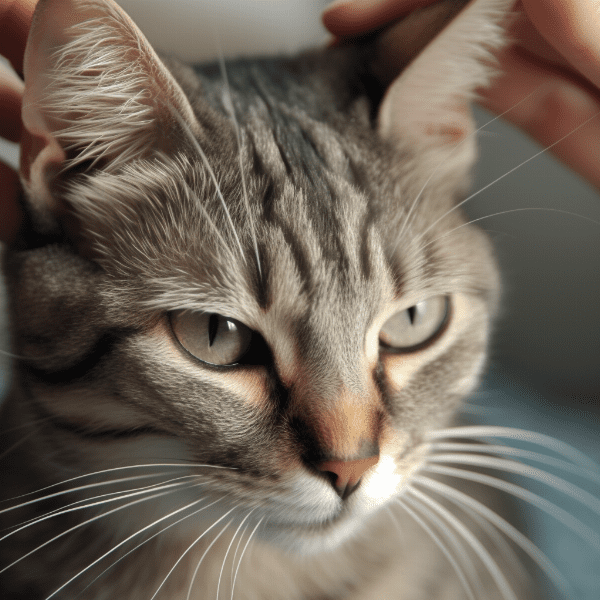
Persistent Scratching or Head Shaking
If your cat is scratching at their ears or shaking their head frequently, it may be a sign of an ear infection or other ear-related issue. These behaviors can cause additional trauma to the ears, making it essential to seek veterinary care promptly.
Foul Odor or Discharge
A foul odor or discharge from the ears can indicate an infection or other health issue. If you notice any unusual smells or discharge, it’s important to seek veterinary care right away.
Redness or Swelling
Redness or swelling around the ears or ear canal can be a sign of inflammation or infection. If you notice any signs of redness or swelling, it’s essential to seek veterinary care to prevent the condition from worsening.
Hearing Loss or Balance Issues
If your cat is experiencing hearing loss or balance issues, it may be a sign of an underlying ear condition. Seeking veterinary care can help identify the root cause of these issues and provide appropriate treatment.
Changes in Behavior
Changes in your cat’s behavior, such as increased irritability or lethargy, can be a sign of an underlying health issue, including ear-related problems. Seeking veterinary care can help identify the root cause of these issues and provide appropriate treatment.
By keeping an eye out for these signs and seeking veterinary care promptly, you can help ensure that your cat’s ear health is maintained and any underlying issues are addressed in a timely manner. Remember that regular ear cleaning is just one aspect of ear health, and it’s essential to partner with your veterinarian for a comprehensive approach to your cat’s overall health and wellness.
Preventing Ear Problems in Cats: Best Practices for Owners
Preventing ear problems in cats is an essential aspect of responsible cat ownership. Here are some best practices that owners can follow to help prevent ear-related issues:
Regular Ear Cleaning
Regular ear cleaning is crucial for maintaining your cat’s ear health. Aim to clean your cat’s ears once a week, using a gentle homemade solution or a product recommended by your veterinarian.
Keep Your Cat’s Environment Clean
A clean living environment can help prevent ear-related issues in cats. Regularly clean your cat’s bedding, litter box, and any other areas where they spend time to prevent the buildup of bacteria and other microorganisms.
Monitor Your Cat’s Diet
A healthy diet can contribute to your cat’s overall health and wellness, including their ear health. Be sure to provide your cat with a balanced diet that meets their nutritional needs.
Keep Your Cat’s Ears Dry
Excess moisture in your cat’s ears can contribute to the development of ear infections. After bathing your cat or allowing them to play in water, be sure to dry their ears thoroughly.
Address Health Issues Promptly
Untreated health issues can contribute to ear-related problems in cats. Seek veterinary care promptly if you notice any signs of illness or discomfort in your cat.
Regular Veterinary Checkups
Regular veterinary checkups can help identify potential ear-related issues before they become a problem. Be sure to schedule annual checkups for your cat and follow your veterinarian’s recommendations for preventative care.
By following these best practices, you can help prevent ear-related issues in your cat and maintain their overall health and wellness. Remember to partner with your veterinarian for a comprehensive approach to your cat’s health and seek prompt veterinary care if you notice any signs of illness or discomfort in your cat.
Success Stories from Cat Owners Who Have Tried the Homemade Ear Cleaner
Many cat owners have found success in using homemade ear cleaner solutions for their cats. Here are a few success stories from cat owners who have tried the homemade ear cleaner:
“My Cat’s Ear Infections Have Disappeared!”
After struggling with chronic ear infections in her cat, Sarah decided to try making her own ear cleaner solution using white vinegar, rubbing alcohol, and distilled water. She used the solution once a week for several months, and her cat’s ear infections disappeared completely. Sarah continues to use the homemade solution as part of her cat’s regular ear care routine.
“No More Scratching or Head Shaking!”
Jessie’s cat, Max, had been scratching at his ears and shaking his head frequently, leading her to suspect an ear infection. She decided to try making her own ear cleaner solution using a mixture of white vinegar, rubbing alcohol, and aloe vera gel. After using the solution once a week for several weeks, Max’s ear scratching and head shaking disappeared completely.
“Easy and Cost-Effective Ear Cleaning!”
Mike had been using store-bought ear cleaning products for his cat for years, but was growing tired of the expense and hassle of buying and storing them. He decided to try making his own ear cleaner solution using white vinegar, rubbing alcohol, and coconut oil. Mike found the homemade solution to be just as effective as store-bought products, and appreciated the cost savings and convenience of being able to make it at home.
By trying a homemade ear cleaner solution, many cat owners have found success in maintaining their cat’s ear health and preventing ear-related issues. While every cat is different, it’s worth considering making your own ear cleaner solution as a cost-effective and convenient way to care for your cat’s ears. Remember to always consult with your veterinarian before trying any new ear cleaning products or techniques.
Conclusion: Keeping Your Cat’s Ears Clean and Healthy with Homemade Solutions
Keeping your cat’s ears clean and healthy is an essential aspect of responsible cat ownership. By using a homemade ear cleaner solution, you can provide a safe, effective, and cost-effective way to maintain your cat’s ear health.
Remember to always gather the necessary ingredients and supplies before starting the ear cleaning process, and to warm the solution before applying it to your cat’s ears. Be gentle and patient during the cleaning process, and use treats and positive reinforcement to make the experience more pleasant for your cat.
It’s also important to be aware of common mistakes to avoid when cleaning your cat’s ears, such as using Q-tips or cotton swabs, over-cleaning or under-cleaning, using incorrect products, and not checking for infections.
If you notice any signs of discomfort, infection, or other ear-related issues in your cat, seek veterinary care promptly. And finally, by following best practices for preventing ear-related issues in cats, such as regular ear cleaning, keeping their environment clean, and monitoring their diet and health, you can help keep your cat’s ears healthy and free from problems.
In conclusion, a homemade ear cleaner solution can provide a safe, effective, and convenient way to care for your cat’s ears. Remember to always consult with your veterinarian before trying any new ear cleaning products or techniques, and to partner with them for a comprehensive approach to your cat’s overall health and wellness.